


DIY Friendly
Easily install our wood panels with simple tools-no professional help needed

High Quality Wood
Crafted from premium materials for durability and timeless style.
Free & Fast Shipping
Enjoy free and quick delivery to your doorstep for a hassle-free experience.
Flexible Payments
Multiple payment options make it easy to shop with confidence.


Clean Edges
Versatile Finishing Touches
Beauty,Durability & Acoustics- All in One Panel
Build to Last
Crafted from high-quality wood, our panels offer exceptional durability and a timeless aesthetic.
Excellent Sound Absorption
Designed to reduce echo and improve sound clarity for a quieter, more comfortable space.
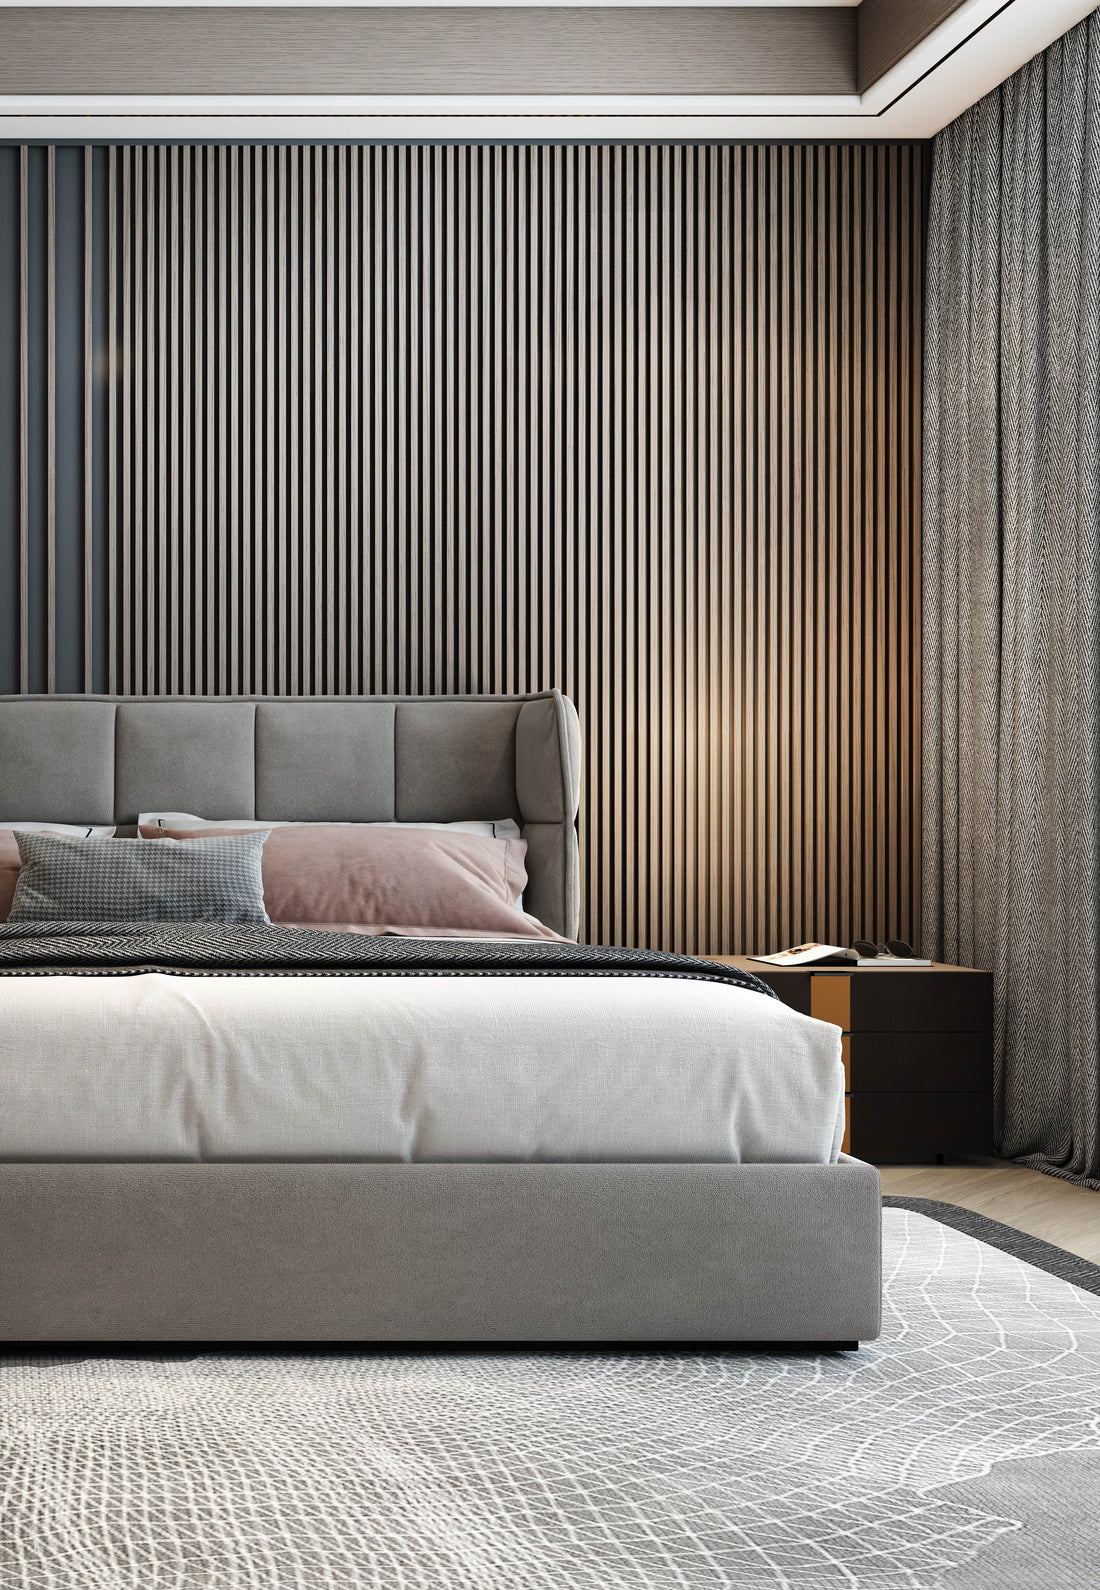
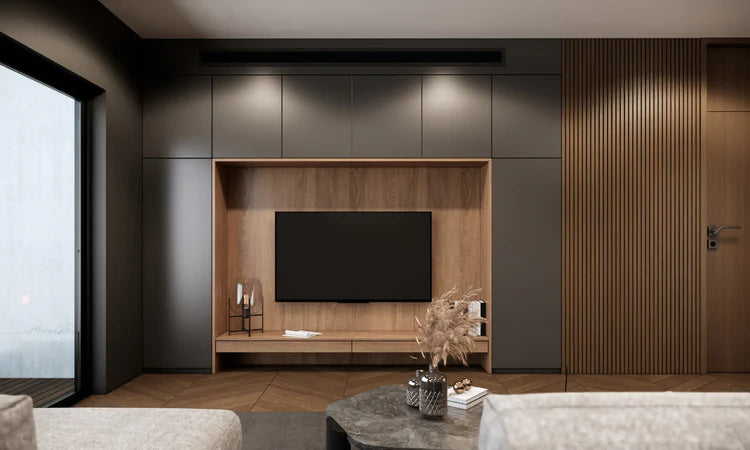
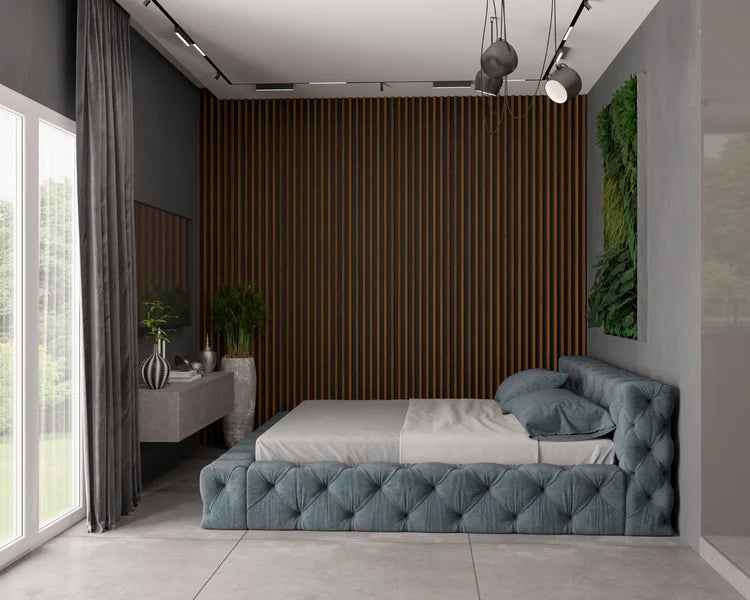
Designed for Every Space
Our versatile panels elevate the look of homes, offices, and commercial spaces with modern elegance.

Sustainability Sourced
We use responsibly sourced materials, ensuring our panels are both eco-friendly and stylish.
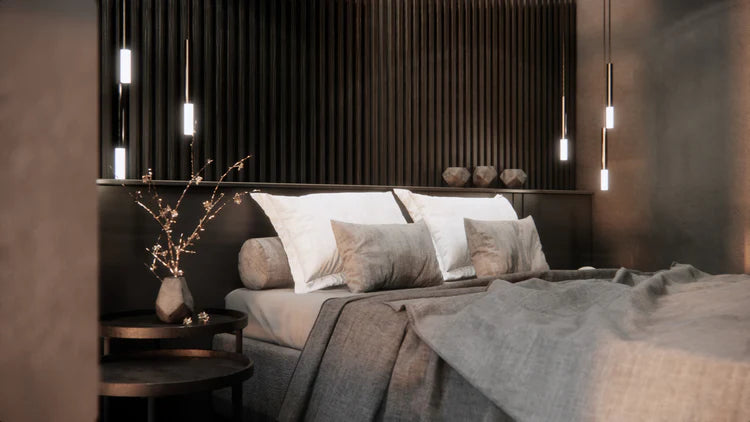
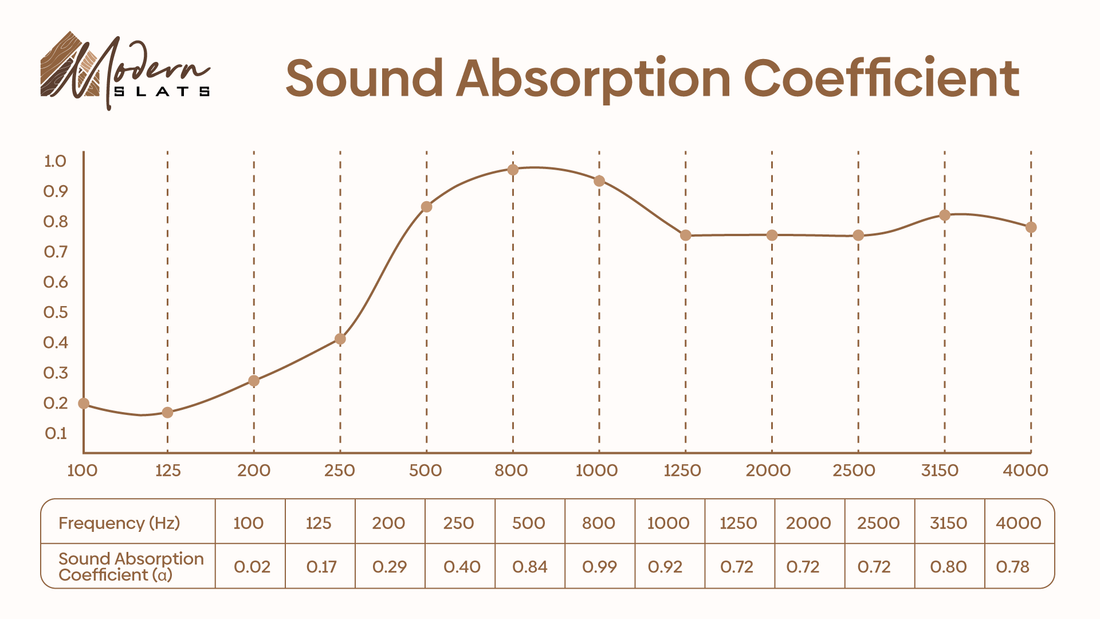
Complete Acoustic Performance

Quiet Comfort, Backed by Science
Tired of echoes and noise ruining your home? Willow Panels absorb up to 100% of key sound frequencies, reducing everyday distractions like voices and vibrations. Enjoy a peaceful, welcoming space with clearer conversations, better relaxation, and sleek design—all in one simple solution.


